English
Effectively manage your meetings in real time with In-Meeting Management tools. These features allow hosts to control the flow of the meeting, invite participants and share content, ensuring that meetings run smoothly and productively. Learn how to manage participants, presentations, and interactions during your meetings.
Audio & Video Management
- Users can click on the bottom navigation bar during the meeting to set up the microphone and camera, including turning them on and off and switching the devices.


- Hosts/co-hosts can set the function to mute all participants and can also choose whether users can unmute themselves.


How to share a screen
- On Desktop, you can choose to share the desktop, window, or application. During a meeting, participants can click "Share" in the bottom toolbar and select the desktop, window, or application to be shared to start sharing.


Invite others to join the meeting
- Click "Invite" in the "Participants" function area of the toolbar, "Invite" next to the search box in the participant list, or "Share" next to the meeting details at the top of the interface to pop up the invitation panel. Click "Share Invitation" to select people or groups to share, and the invitees will receive the meeting invitation card, which they can click to join the meeting; Click "Copy Meeting Information" to forward it to relevant personnel.


- Search for a user on the participant list page, click "Call" to initiate a meeting call to them. The called user will receive the called interface, and can join the meeting after clicking "Answer".

- Click "Participants" -> "Suggestions" in the toolbar, and you can perform operations in the suggested list: click "Call All" at the bottom to call all ; click the "Call" button on the right side of a participant to call an individual. You can view "Unanswered" and "Rejected" feedback in the suggested list.

Using the Waiting Room
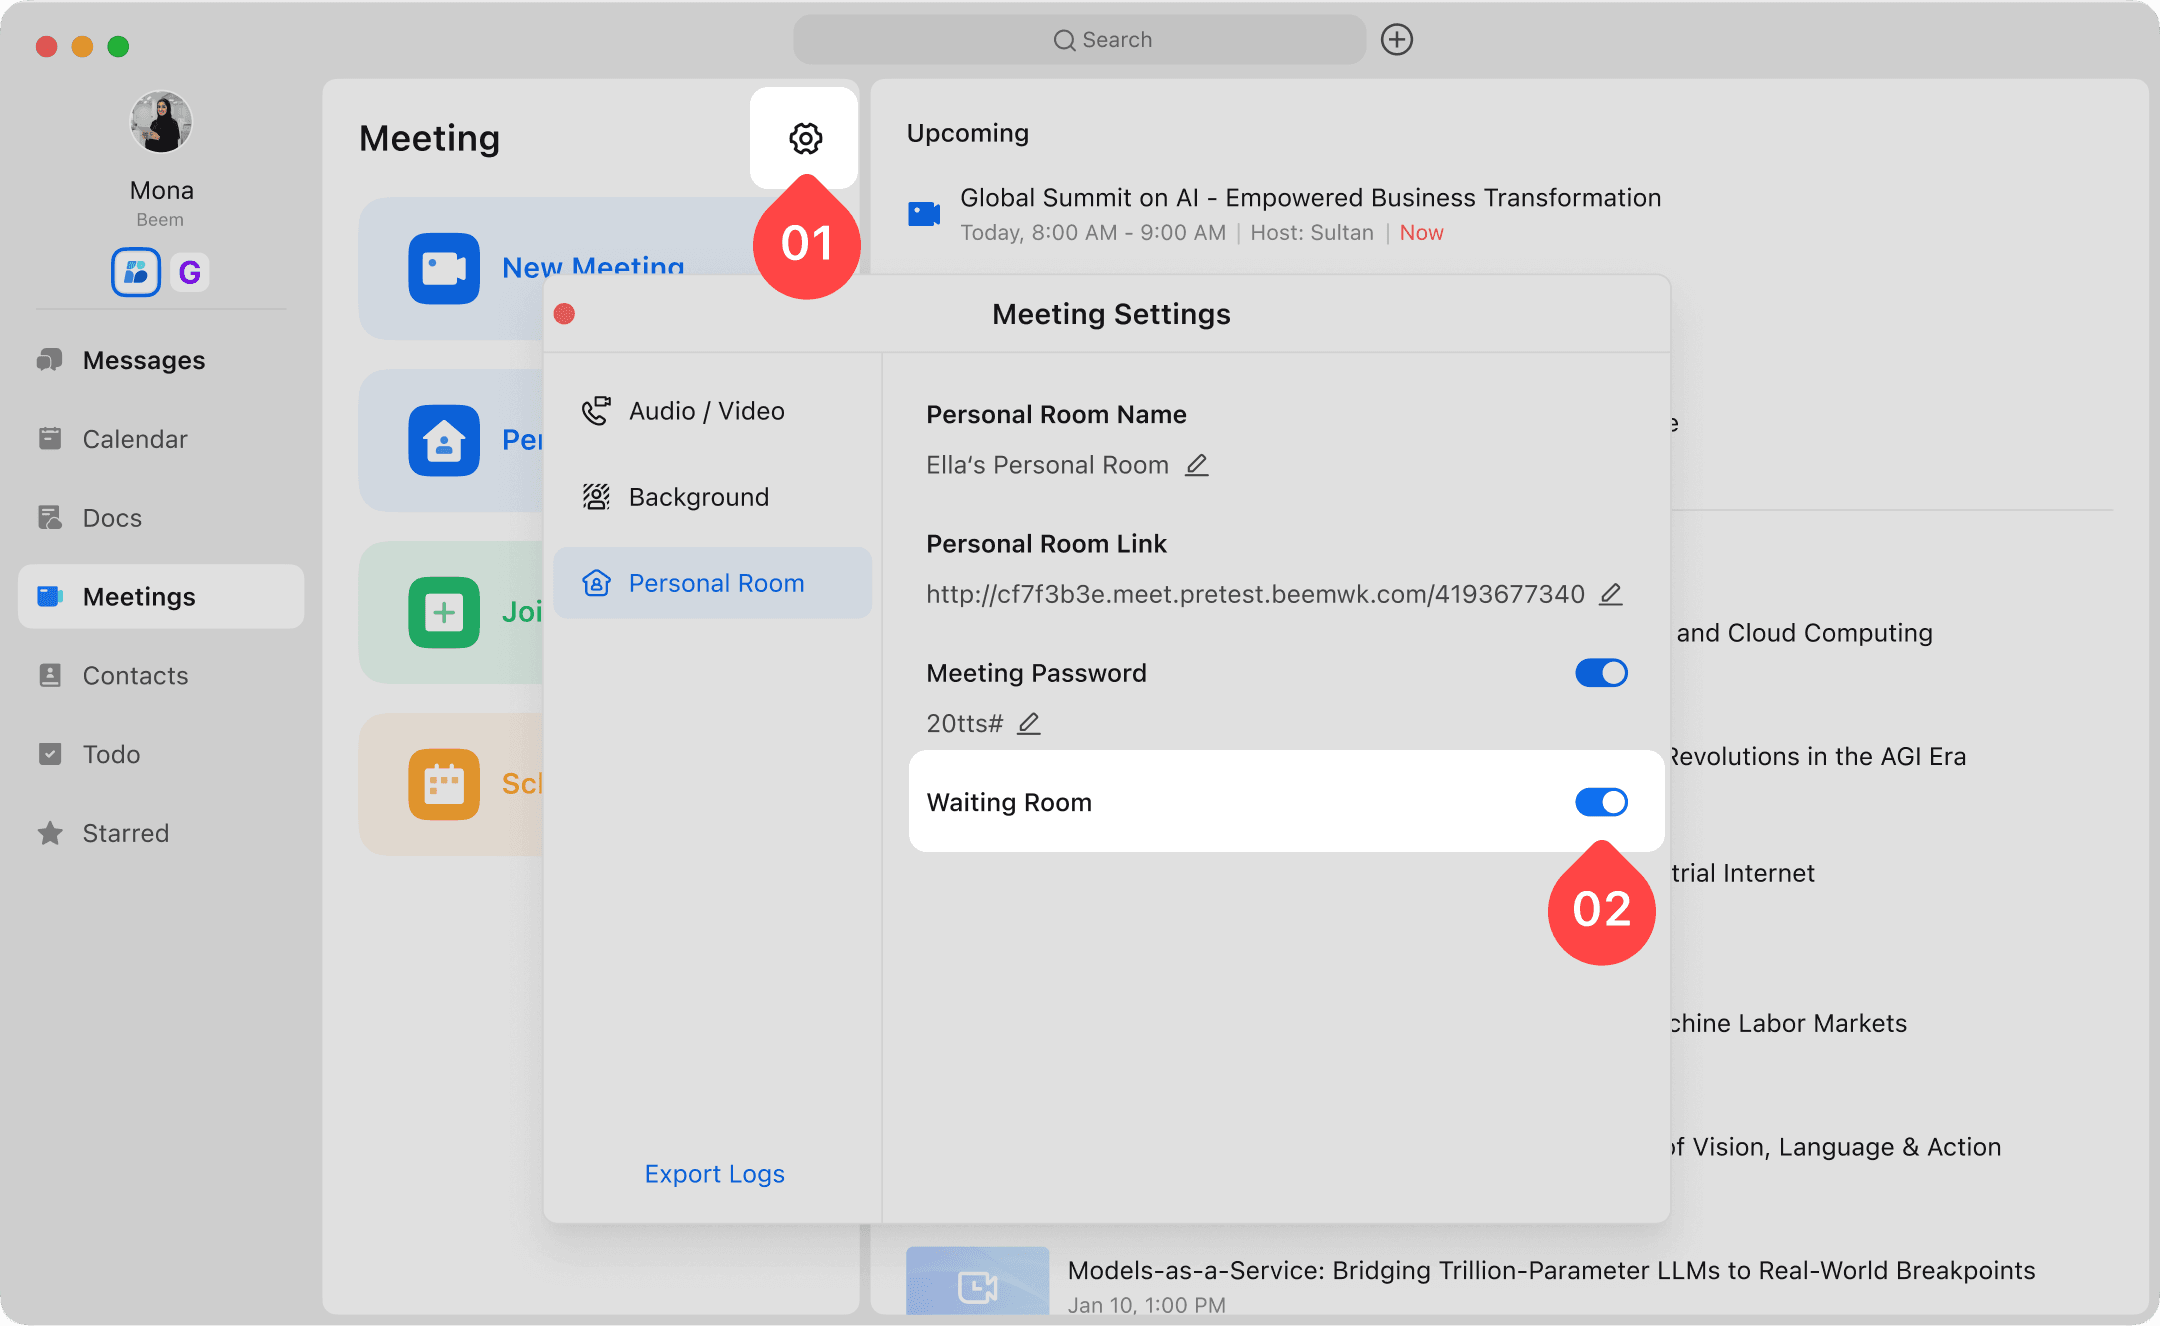
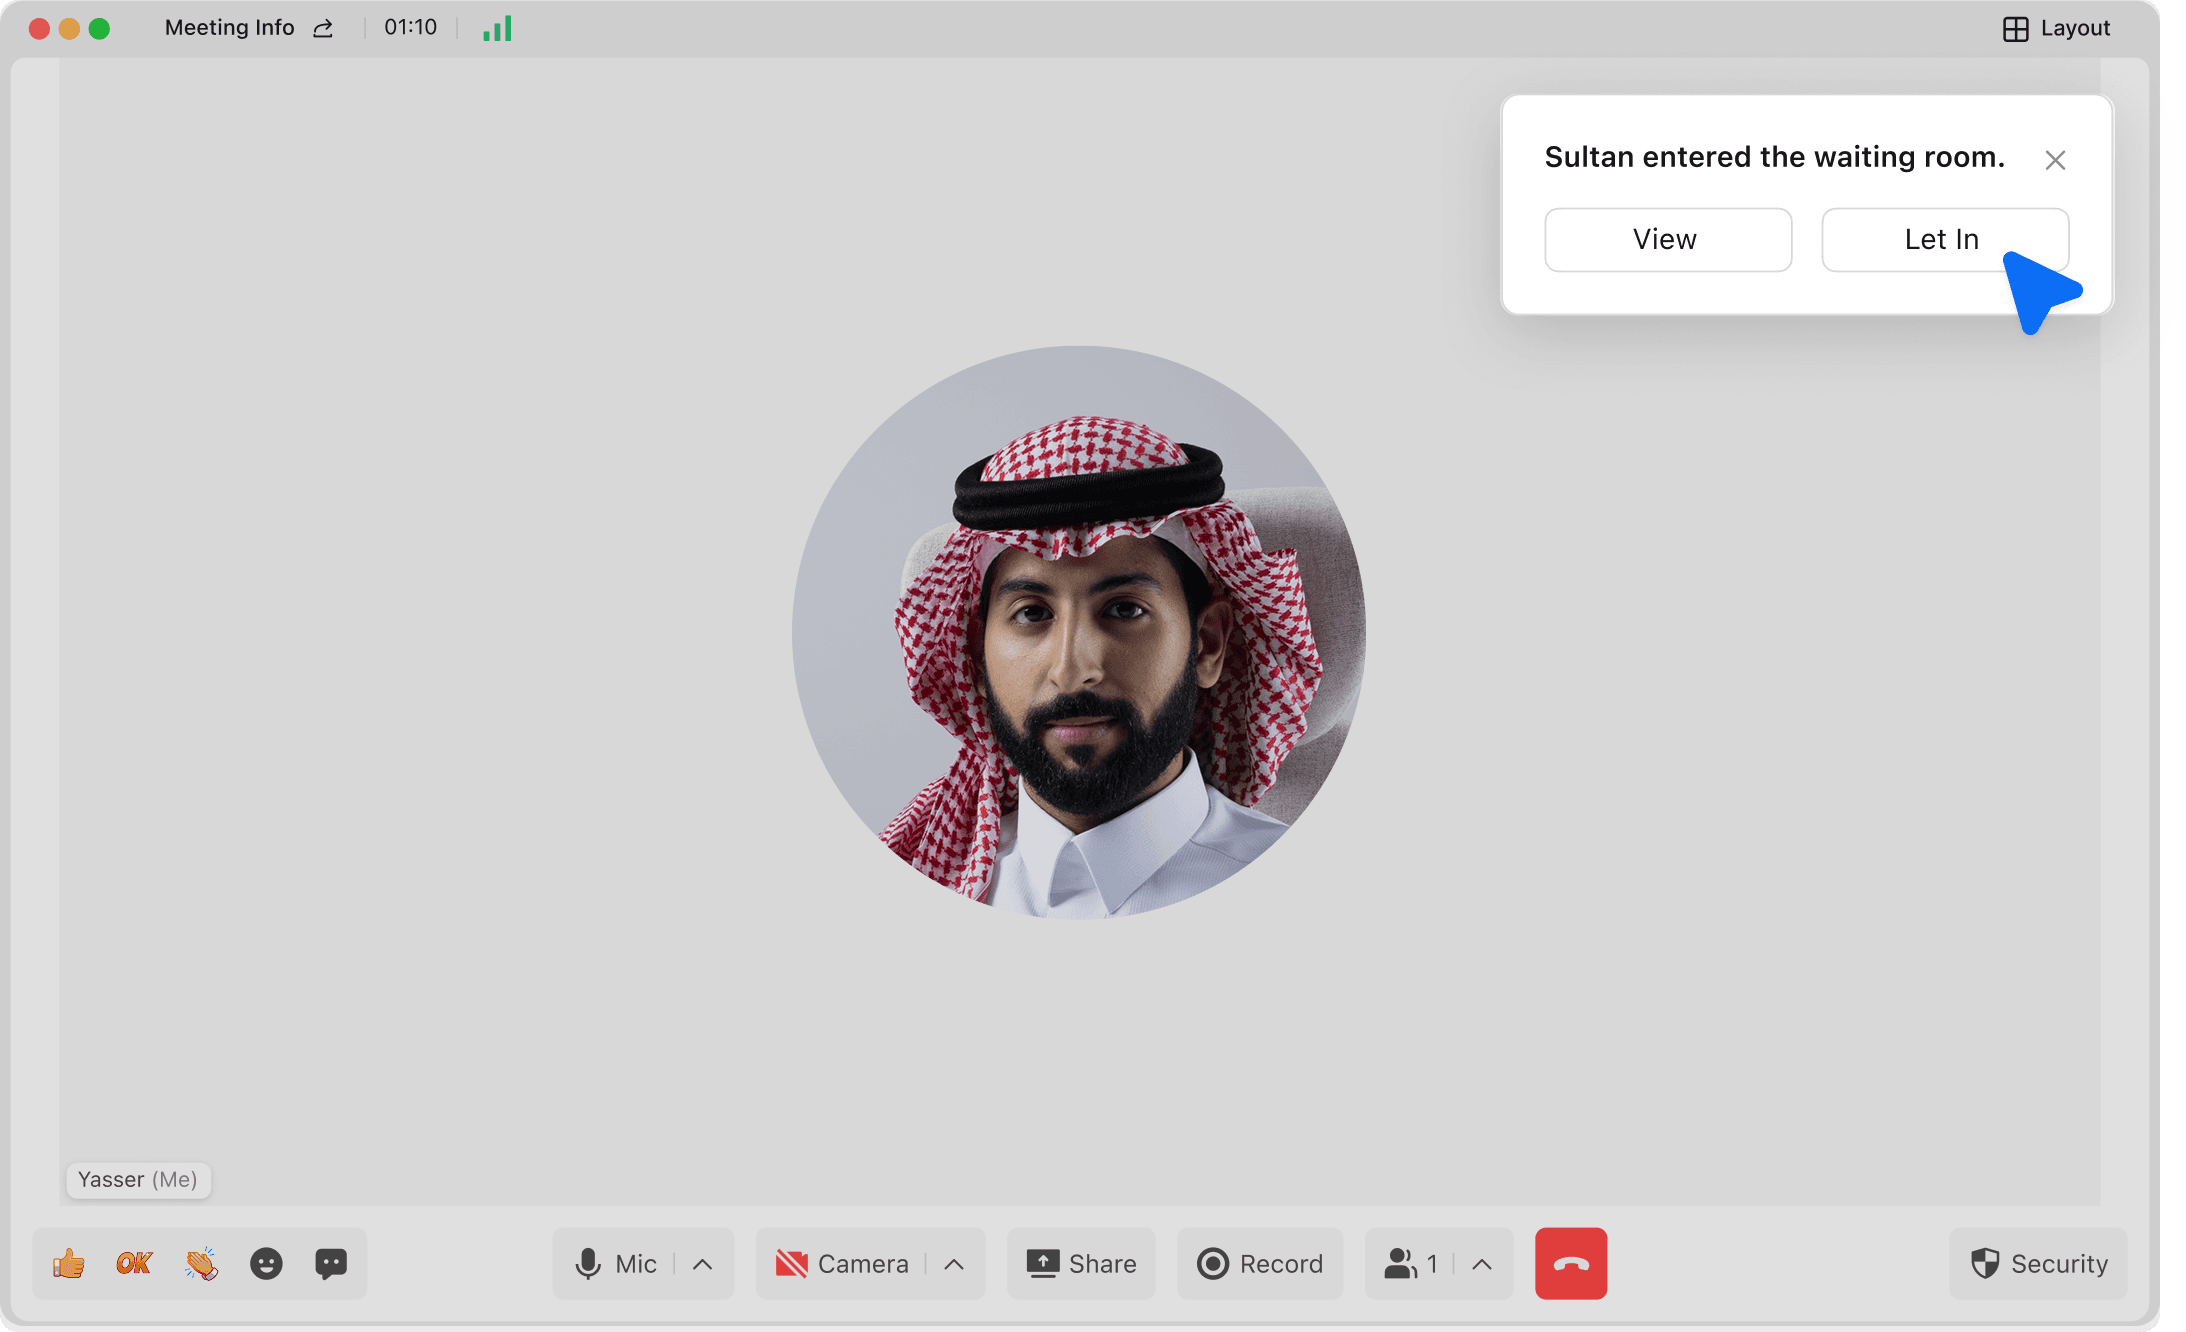
Suitable for meeting scenarios that require access control, such as business negotiations, education and training, online exams, large-scale summits, etc., for identity verification, maintaining order, and ensuring the privacy and security of meetings.
- You can set the default switch of the waiting room for personal meeting rooms in the settings function area of the meeting. Once enabled, the waiting room will be opened when you hold a meeting again.

- During a meeting, click on the security function area to set up the waiting room in real time. After enabling or disabling it, the changes will take effect immediately for the current meeting, and the modification will only be effective for the current meeting. When there are more than 1 user, click "View" to perform "Admit" or "Remove" operations on users, or click "Admit All" to allow all users to enter the meeting.


Assign Co-Host
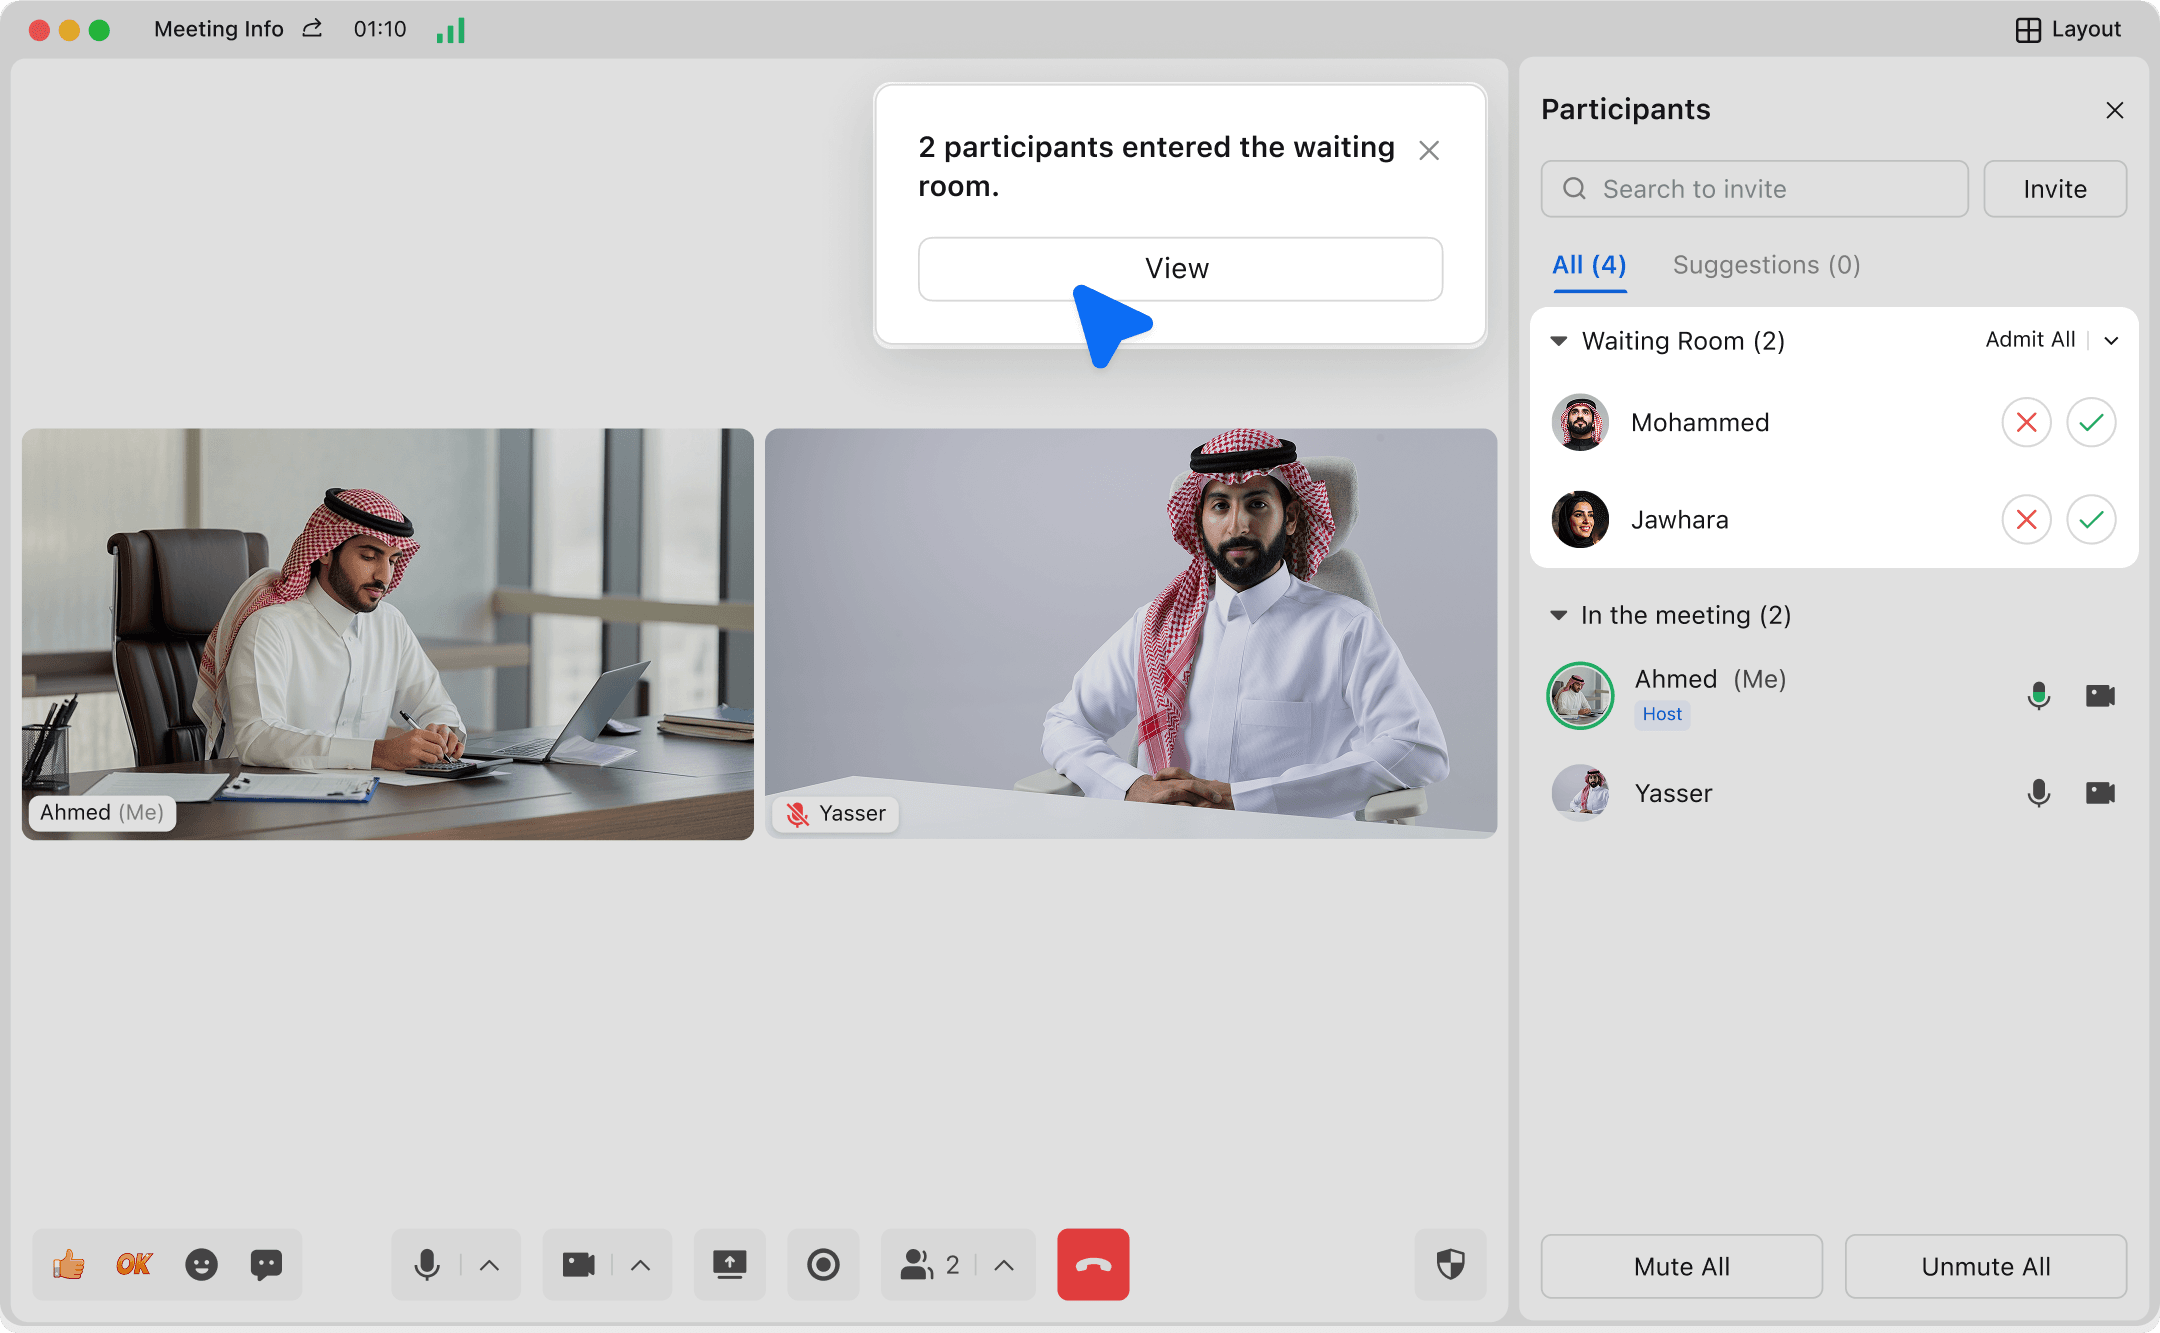
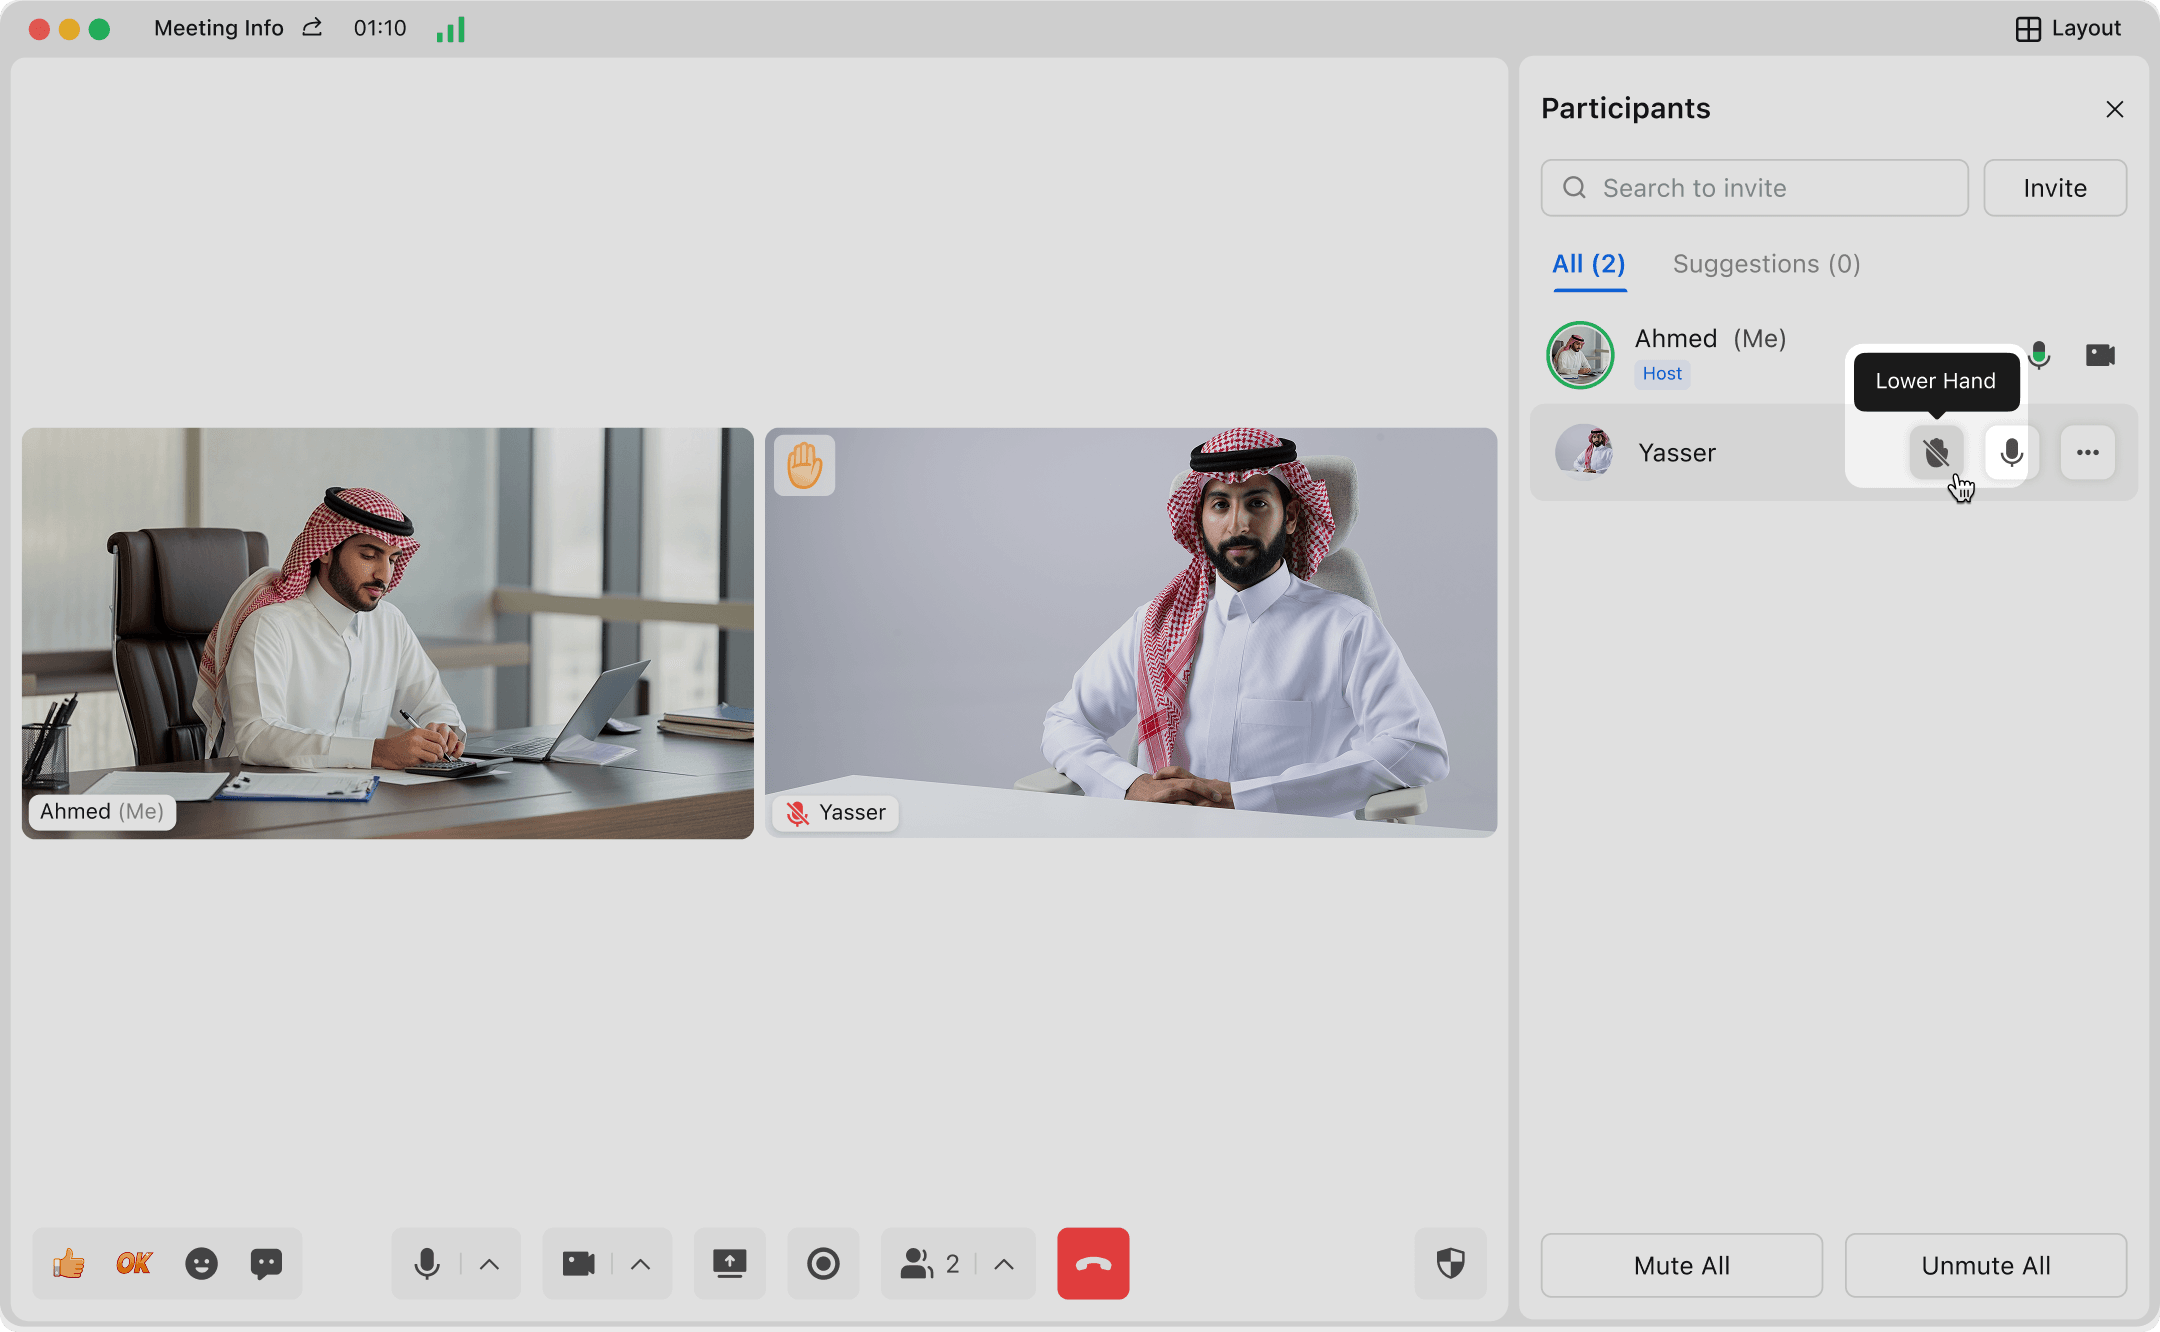
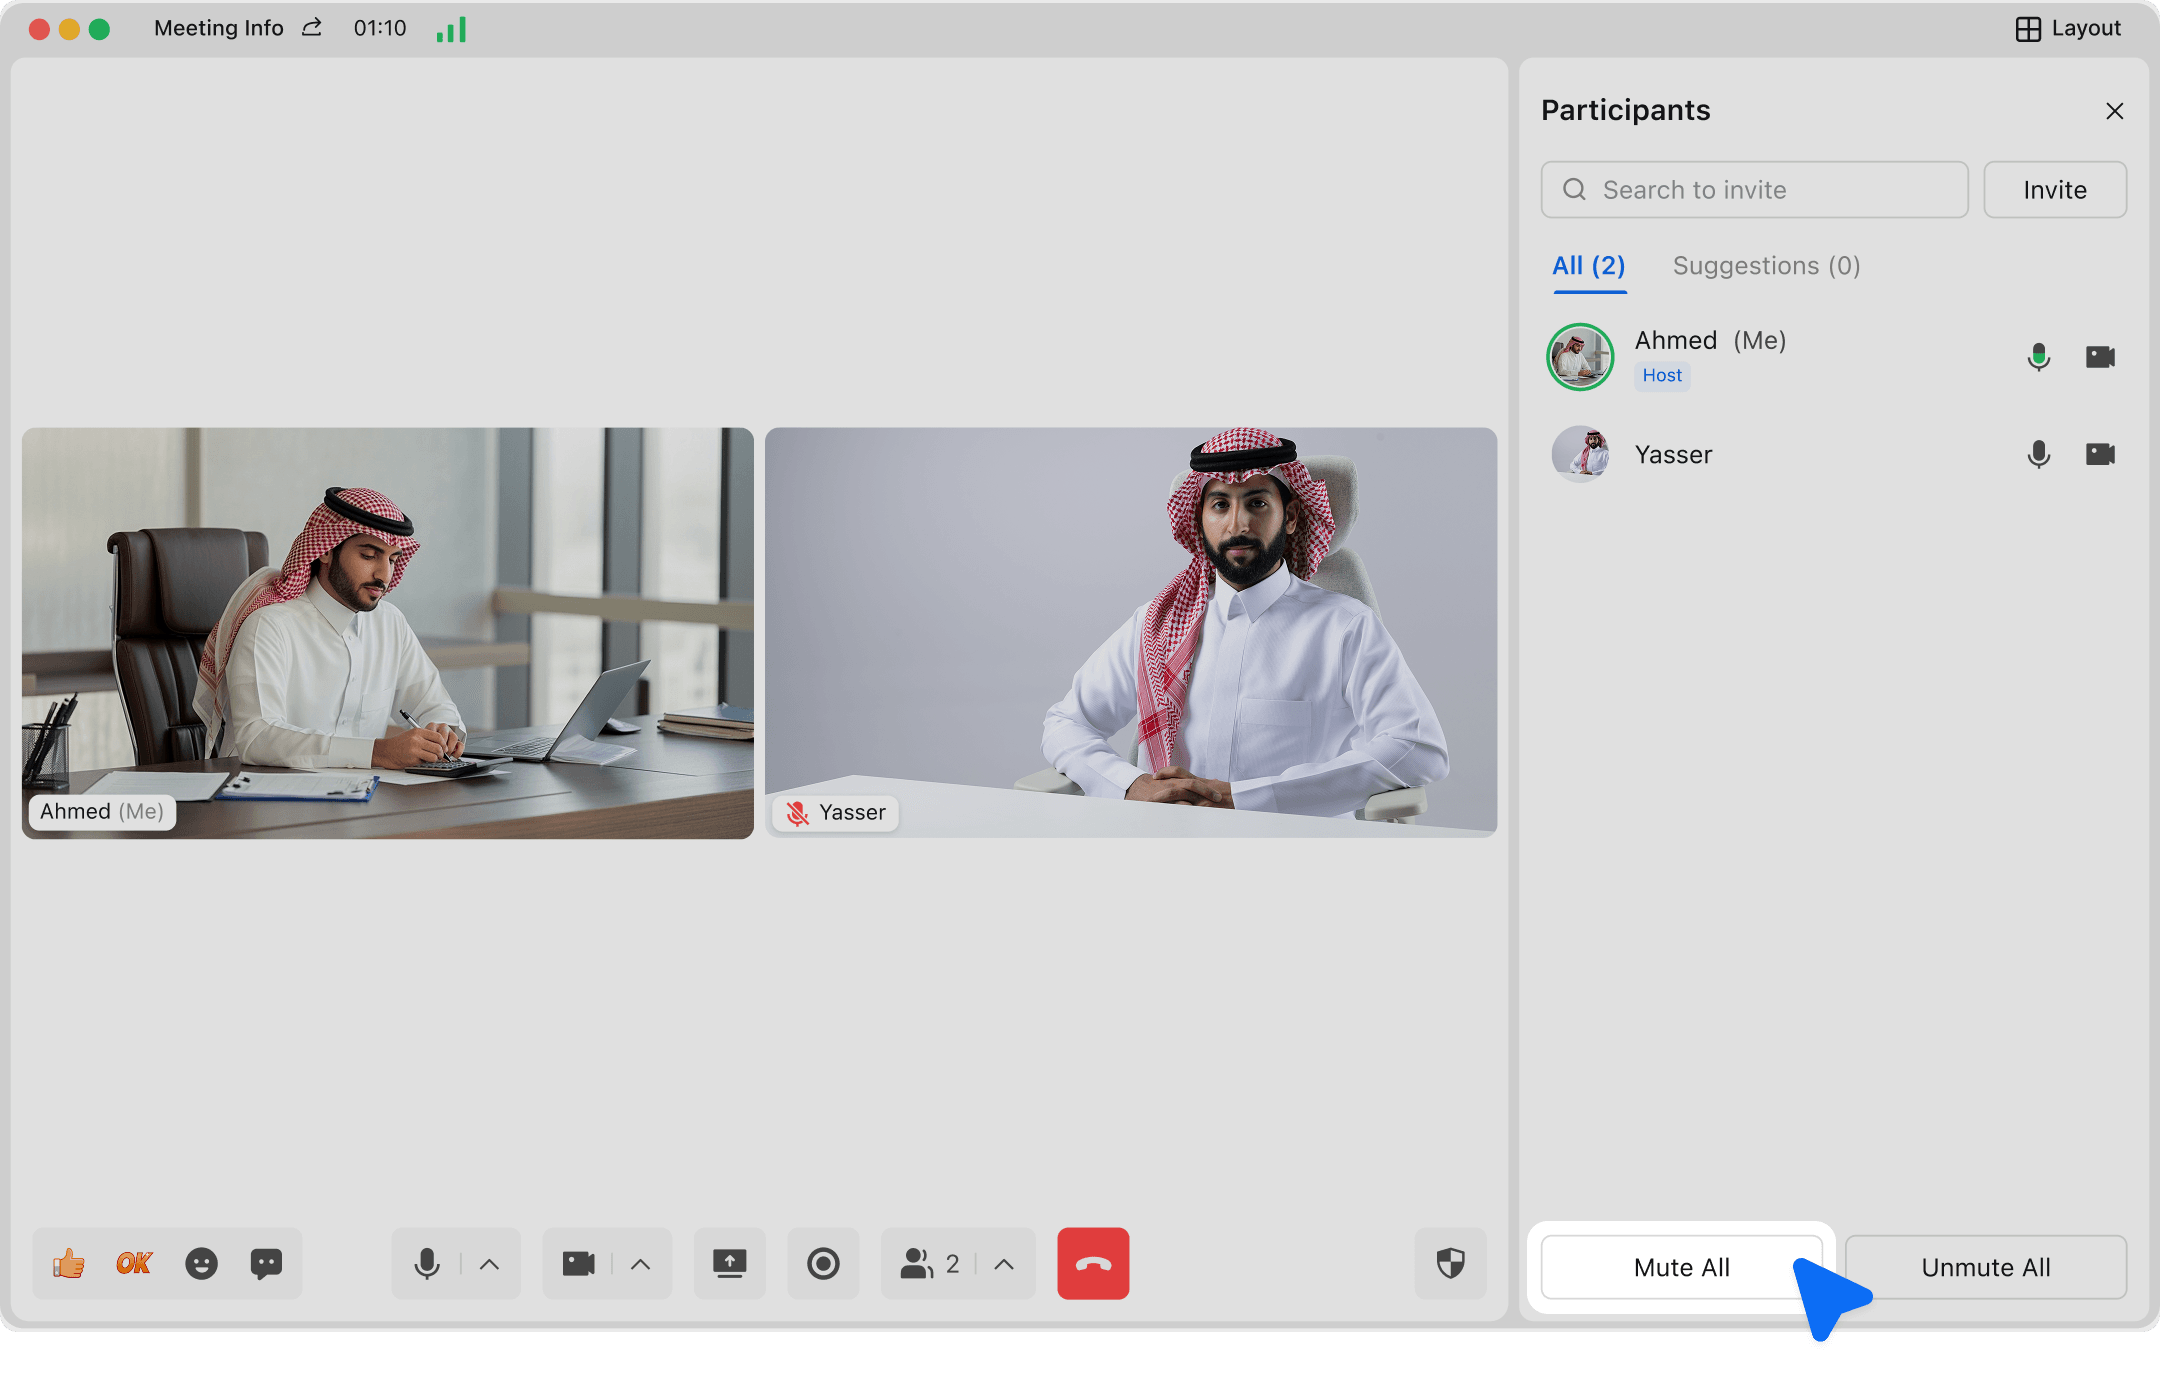
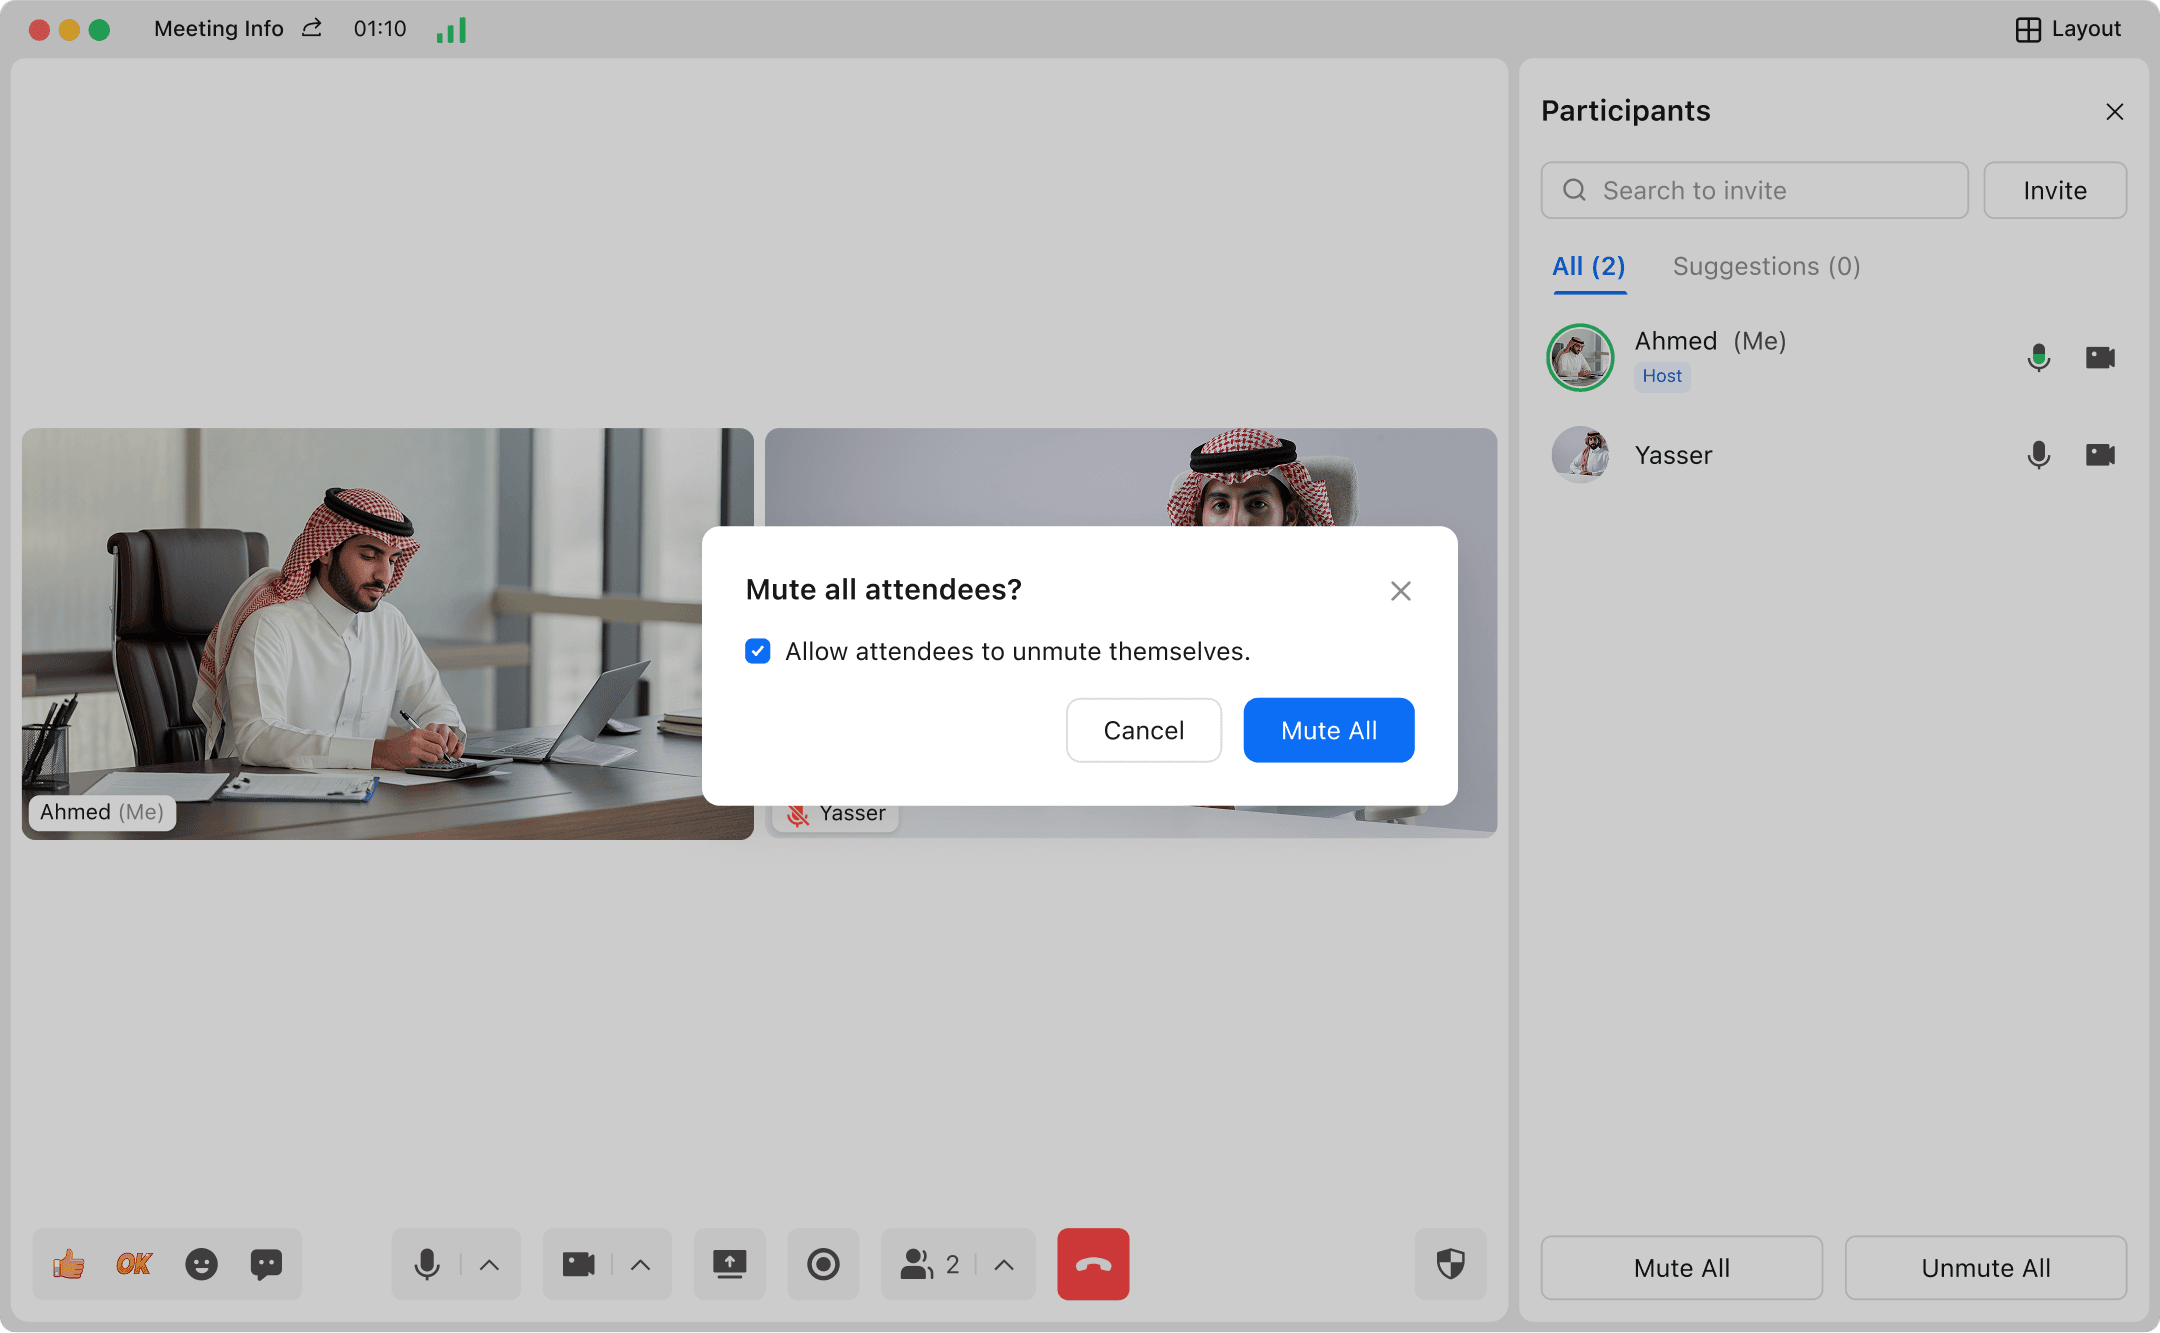
Suitable for scenarios such as large-scale seminars, multi-instructor training, XFN coordination meetings, etc., it can assist in managing multiple permissions: such as muting all or individual participants, approving waiting room members to enter, removing disruptors, etc., assist in advancing the agenda rhythm, thereby relieving the pressure on the main host and ensuring the orderly and efficient conduct of the meeting.
- Make Co-host: The host hovers the mouse over the target participant in the participant list or video view, clicks "More" -> "Make Co-host".

- Revoke co-host privileges:The host hovers the mouse over the target co-host in the participant list or video view, then clicks "More" -> "Remove co-host".

Chat and Emoji Reaction
- During a meeting, click the "Chat" button on the toolbar, enter text, and you can send it.

- Participants click "Emoji" in the toolbar, select an emoji, and send.

- Click "Raise Hand", and the corresponding Emoji will appear in the meeting window and participant list. You can click "Lower Hand" to change your status. The host can click the "Raise Hand" icon in the participant list to lower a participant’s hand.


